Your installer will check with your local building department to determine whether you need a permit. You may also need to set up scaffolding for safety reasons.
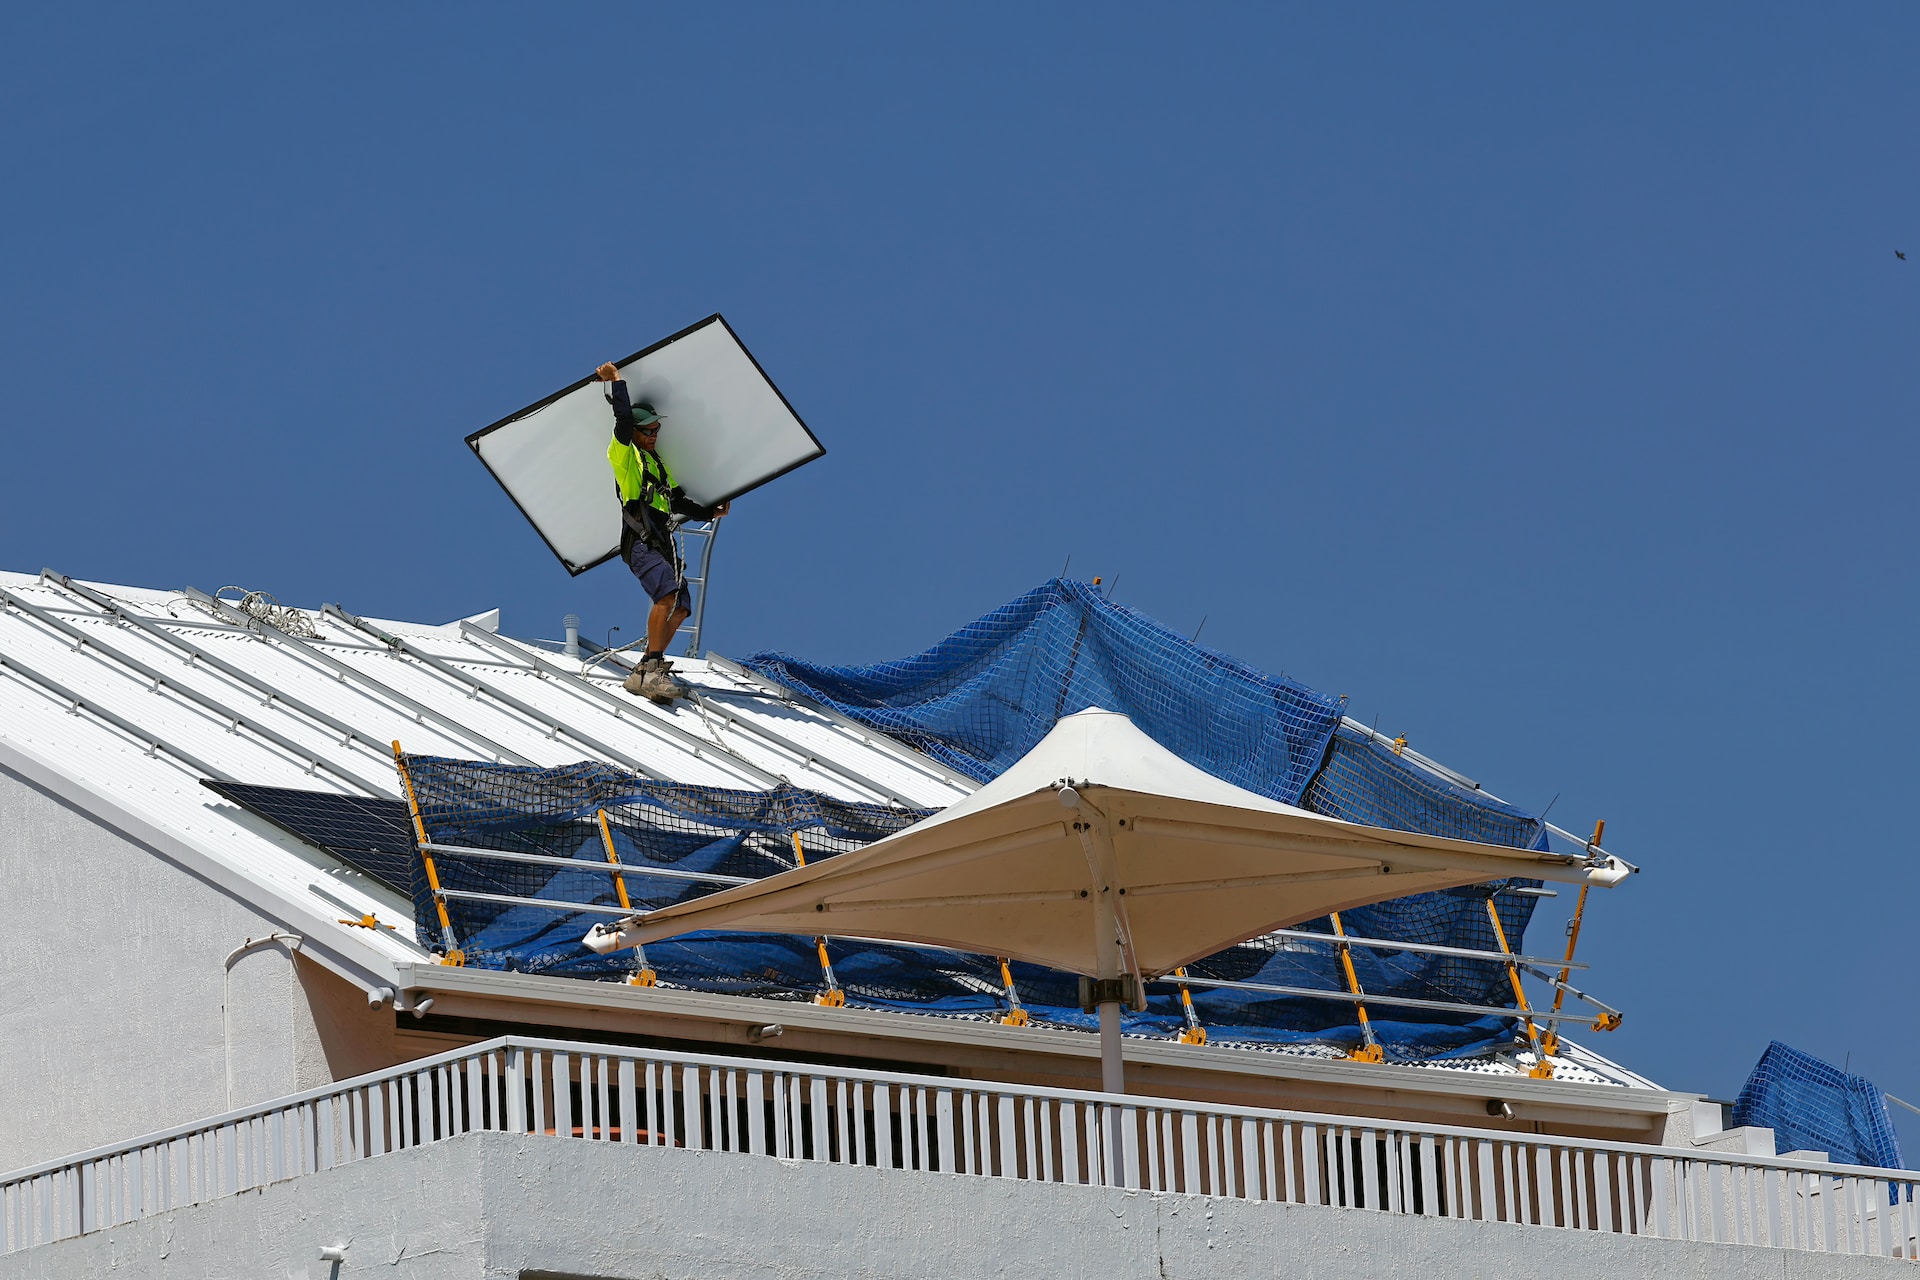
There are many solar panel mounts, but roof mounts are the most common. They are designed to blend in with shingle roofs and can be either rail or tile mounts.
Preparation
This critical phase can significantly impact your solar panel installation in Utah timeline. You must ensure that you have all the necessary paperwork and approvals from local government, building, and homeowners associations (if applicable). You also need to understand your utility interconnection and net metering policies.
Once you have the necessary permits, your installer will place an equipment order through their primary distributor. This phase’s timeframe can depend on the equipment supply chain and how many projects your installer has in their queue.
Once the equipment arrives, a skilled technician will begin the installation. They will start by mounting the solar panels on your roof or a sunny location in your yard using a metal mount system. Then, they will connect the solar panels to a charge controller and an inverter (if your solar power system includes battery storage for excess energy). The inverter converts the DC electricity from the solar panels into usable AC power.
Installation
This step involves installing the electric wiring to connect your solar panels to your home and the city electricity grid (if you’re using one). This includes a solar inverter, which gathers energy from solar panels and converts it into usable power for your home, and a charge controller if your system consists of a battery. Your installer will disconnect your home’s electricity before they begin this work. They’ll also install a meter to track your solar energy production and consumption and a disconnect switch for when you want to turn off your panels.
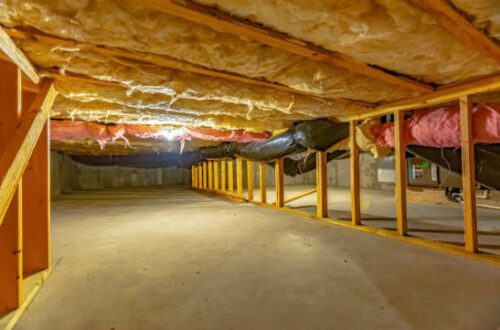
This part of the process can take some time as it often depends on the number of permits required in your area and how quickly your local governing bodies approve them. If your solar system is a ground mount, your installer will build a metal support structure on the property. Once everything is set up, they’ll bolt the flashings to the rafters and then attach the racking rails.
Inspections
Every town, city, state, and country has its own rules and regulations regarding solar permitting and inspections. During this phase, a representative from the local government (or your utility company) will visit your home and inspect your solar system to ensure that all of your installer’s work has been done correctly and to code. This can take 1-4 weeks, depending on the jurisdiction.
The inspector will look at various things, including the influence of nearby trees and other vegetation on your PV system’s energy production. They will also examine your roof, looking for signs of wear and tear and ensuring that it supports your new solar panels.
This stage may also include evaluating your electrical system to ensure it can accommodate the extra power generated by your PV system. It’s common for breaker boxes and other equipment to get upgraded or replaced during this time.
Turning On
After a site assessment, technical experts will determine the ideal equipment for your solar system. They will place an equipment order through their primary distributor, which could take up to a week.
Once the equipment arrives at your home, your installer will begin installation by putting the charge controller and inverter in place. They will also connect the solar panels to their respective wires in series or parallel. The inverter converts the DC power from the PV modules and battery bank into AC power for your home.
Some solar companies will obtain all required permits and deal with local authorities on your behalf. This can save you some time and frustration in the long run. Installing your PV system in appropriate weather conditions will be essential. The last step is to have a representative from your local utility company visit and inspect the project. They will then approve turning on your system and harvesting your renewable energy!