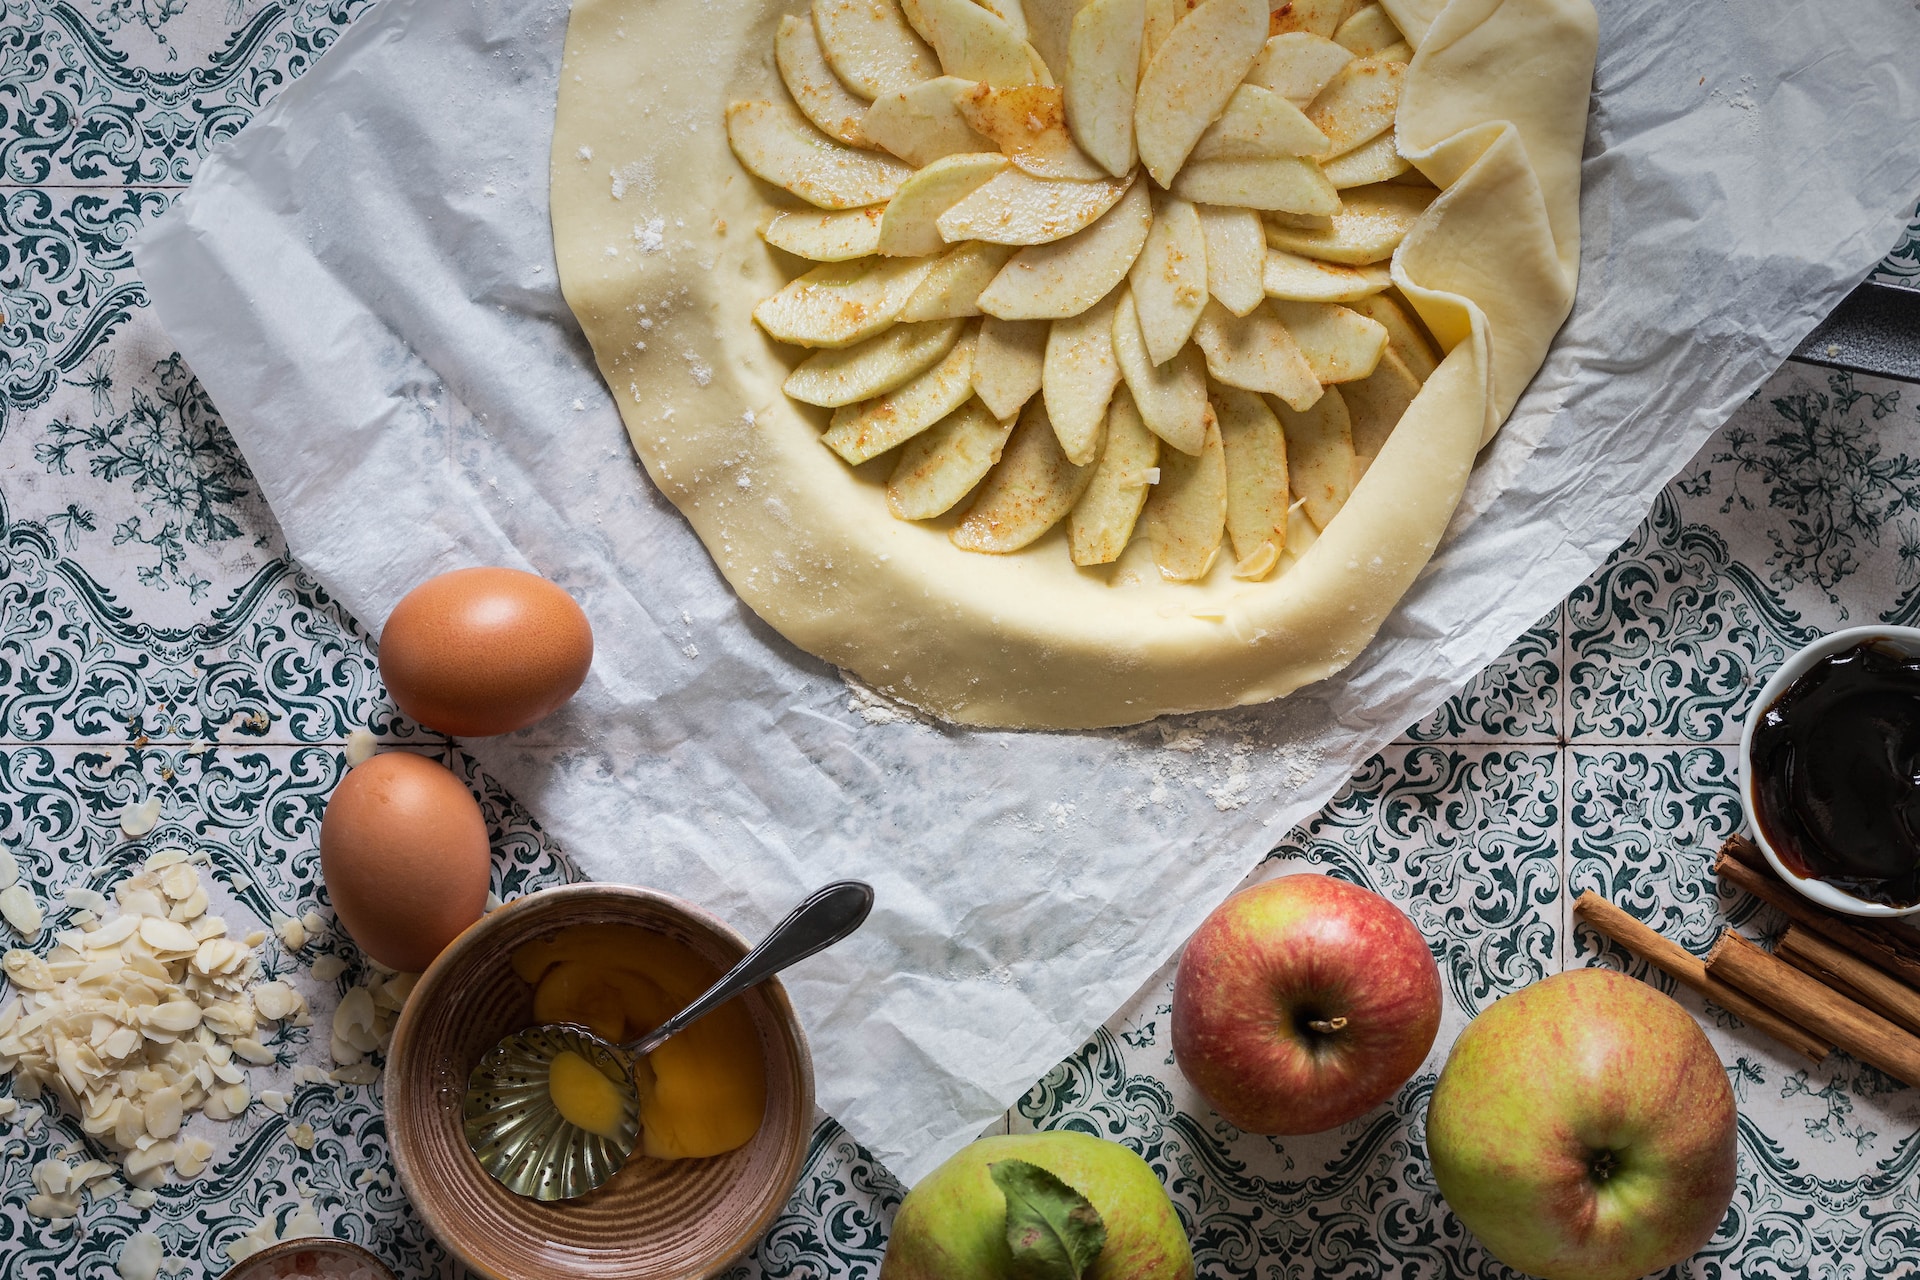
In baking, few culinary creations can match the heavenly allure of a perfectly crafted, all-buttery pie crust. This seemingly simple, crisp, tender foundation is the gateway to a world of delectable delights. Whether planning a sweet, fruity indulgence or a savory masterpiece, the key to success often lies in mastering the art of all butter pie crust perfection. In this article, you will journey through the buttery realms of pastry-making, exploring the secrets and techniques that transform ordinary pies into extraordinary culinary treasures.
1. The Ingredients: Quality is Key
The journey to an exceptional all-buttery pie crust begins with selecting the right ingredients. Quality is paramount. Start with cold, unsalted butter, as it contributes to the flakiness and rich flavor of the crust. Choose a high-quality, unbleached, all-purpose flour for a tender texture. Add a pinch of salt and ice-cold water to complete the list. Some recipes even call for a touch of sugar for sweetness in dessert pies. The coldness of the butter and water is crucial, as it helps create the desired flakiness by preventing the butter from melting prematurely.
2. Mixing with Precision: Achieving the Perfect Consistency
Achieving the perfect pie crust consistency requires precision in mixing. Begin by combining your dry ingredients: the flour and salt. Next, cut the cold butter into small cubes and add it to the dry mixture. Work the butter into the flour using a cutter or fingertips until it forms coarse crumbs. It’s essential to leave some pea-sized pieces of butter; this creates flakiness. Gradually add ice-cold water and mix until the dough comes together. Overmixing can make the crust tough, so handle it with care.
3. Rolling Out the Canvas: The Art of Thickness
Rolling out your pie crust is where the artistry truly begins. Start by dusting your work surface and rolling pin with flour to prevent sticking. Place the chilled dough on the floured surface and begin rolling it from the center outwards, turning it occasionally to maintain an even thickness. For a standard pie, aim for a thickness of 1/8 to 1/4 inch. If it is too thin, your crust may become delicate and challenging to handle; if it is too thick, it might not bake properly.
4. Crimping and Decorating: Elevating the Aesthetics
The aesthetics of a pie often captivate as much as its taste. To create a visually appealing edge, carefully lift your rolled-out dough and gently place it into your pie dish. Trim any excess overhang, leaving about an inch. To crimp or decorate the edge, fold the excess dough under itself and use your fingers or a fork to create your desired pattern. A beautifully crimped or decorated edge adds to the visual appeal and helps seal the filling, ensuring a harmonious balance of textures.
5. Blind Baking and Beyond: Achieving the Perfect Finish
Depending on your pie recipe, you may need to blind-bake the crust prior to adding the filling. This step ensures a crisp, fully cooked bottom crust. To blind-bake, line the crust with a foil and fill it with pie weights or even rice to prevent it from puffing up. Bake for 15-20 minutes, then please remove the weights and the foil and continue baking until the crust turns a beautiful golden brown. Blind baking is essential for custard or no-bake fillings to maintain a sturdy foundation.
Conclusion
In culinary arts, mastering the art of all butter pie crust is a delightful endeavor that combines science, technique, and passion. It’s a testament to the power of simplicity, where a handful of humble ingredients can create a canvas for culinary creativity. The result is a slice of perfection, a symphony of flavors and textures that captivate the senses and elevate any pie to a work of art.


