Window tinting is a great way to improve your home’s appearance and keep your privacy. It’s also an excellent way to reduce energy costs. The demand for window tints has been through the roof of late, with the window film market valued at $10.3 billion as of 2020.
While window tints are great, sometimes it’s necessary to remove them from your home’s windows. Maybe you’re tired of the look of your current window tints, or you need to replace them with a new style.
Whatever the case, knowing how to remove window tint from house windows is essential before you start the process.
However, removing window tint is a lot harder than it seems. If you need help removing window tint from your home’s windows, we’re here to help. Today’s post is the ultimate window tint removal guide for homeowners.
Can You Remove Window Tints on Your Own?
Naturally, you’d want to know whether removing your home’s window tints is a job you could handle. You didn’t install them by yourself, so can you remove them on your own?
The simple answer is yes. Window tint removal isn’t a complex process and doesn’t require any fancy tools. All you’ll need is an adhesive remover, ammonia, a scraper, and a blow dryer.
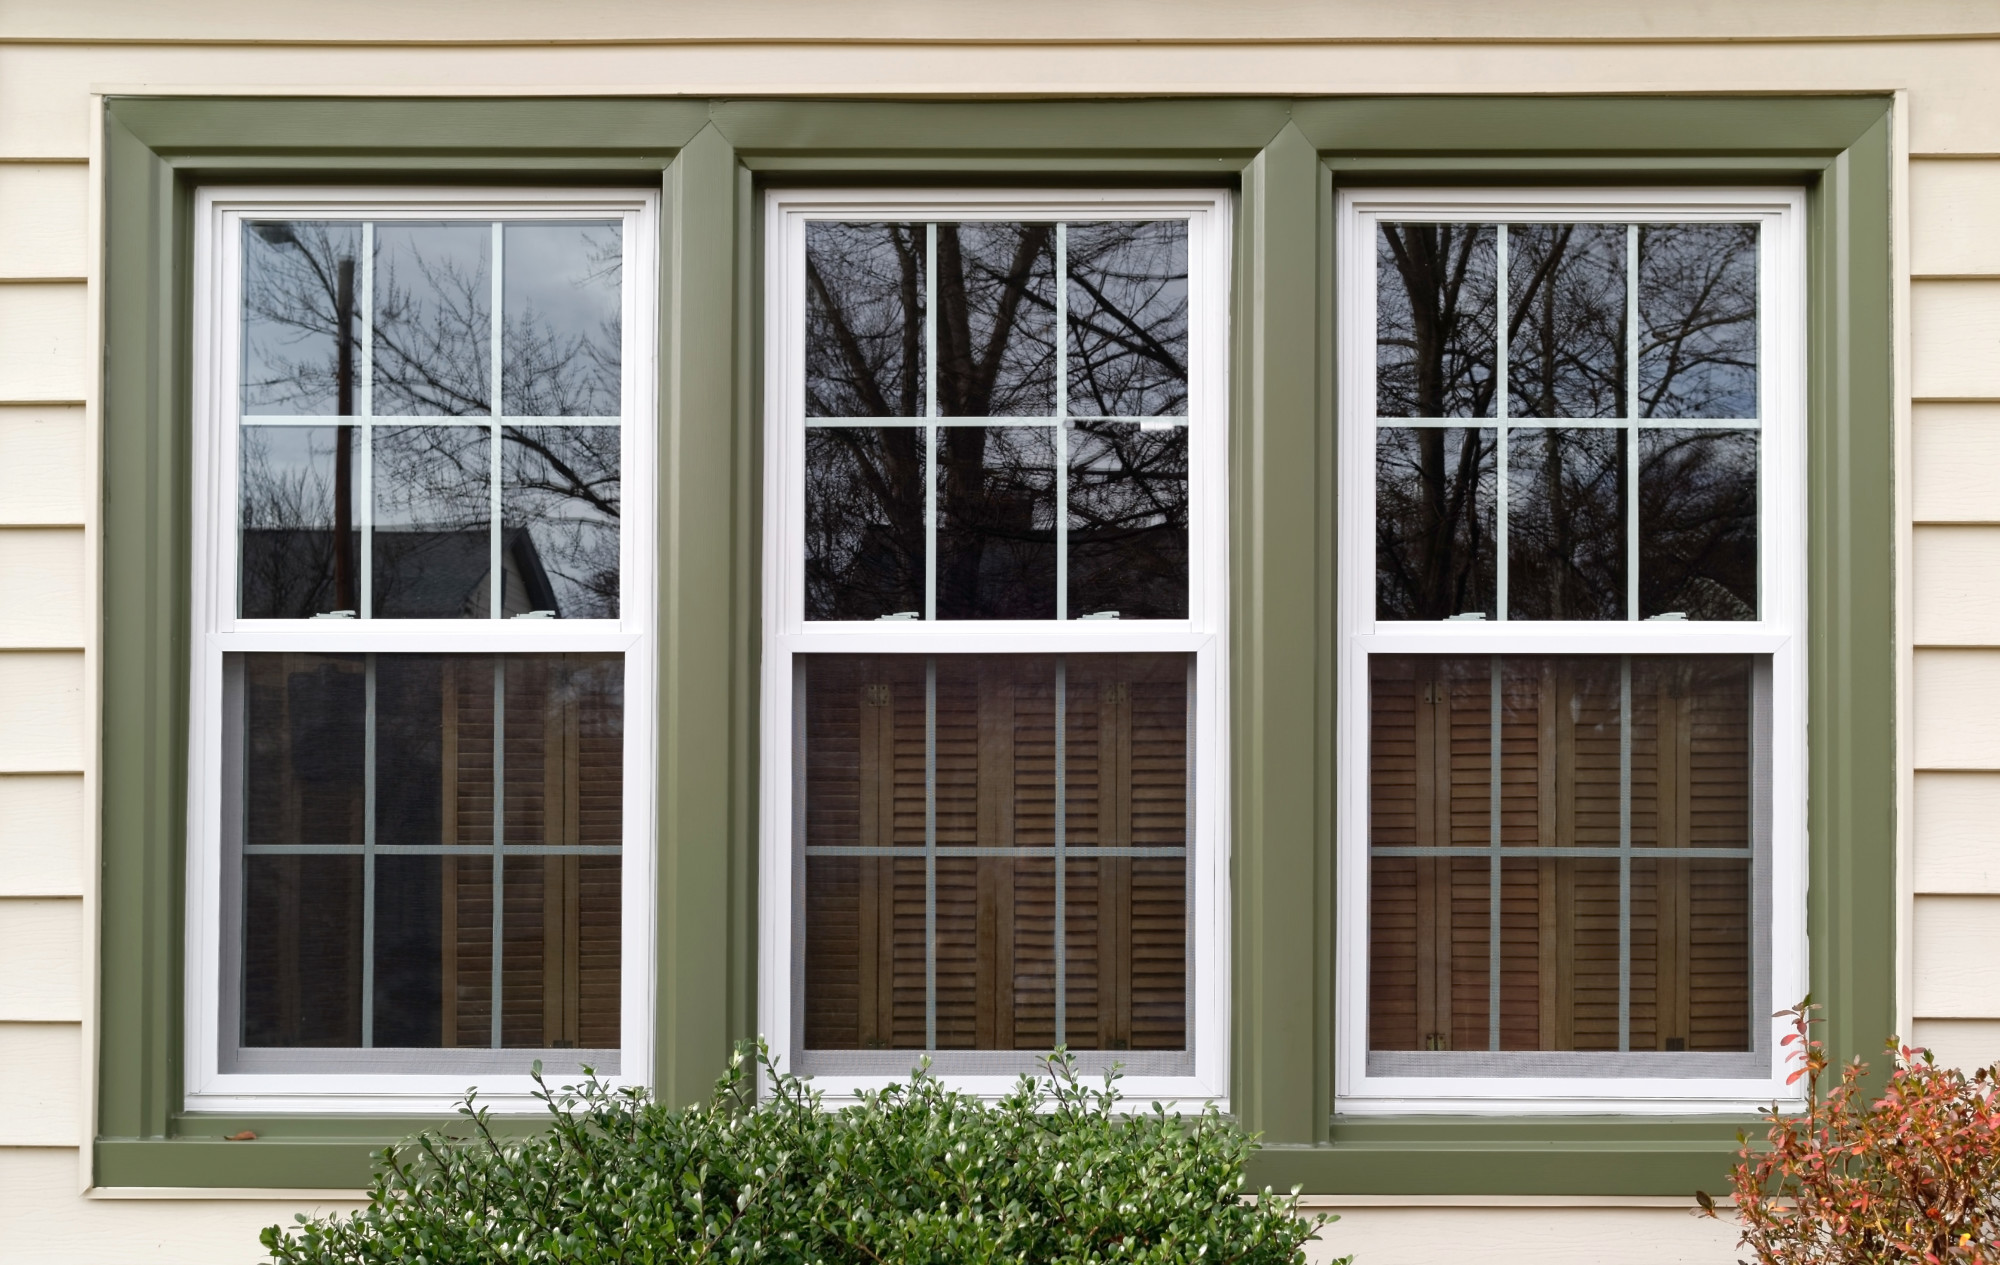
However, if your home has plenty of large windows, you might want to leave it to the pros. Companies that offer residential window tinting services can also help remove the said tints. They’ll also offer suggestions on what films you should consider when it’s time for new ones.
Dissolve the Adhesive
The first step in removing window tint is to dissolve the film’s adhesive that holds it in place. Adhesive removers are readily available at most hardware stores for as little as eight bucks.
If you can’t find an adhesive solution, you can mix soapy water with ammonia. It works just as well.
Spray the adhesive remover on the window and let it sit for about 15 minutes. This will help to loosen the adhesive’s grip and make it easier to remove the tint.
If the adhesive is still not coming off, you can try using a razor blade or putty knife to scrape it off. However, be careful not to scratch the glass while you’re at it. Once the adhesive has been removed, use a clean cloth to wipe away any residue.
Pull the Fim Loose
Once you dissolve the adhesive, the next step is to pull the film loose. This will be much easier now that the adhesive is gone.
The best time to do so is during the afternoon when the sun is at full blast. The heat will make it easier to remove the film from the window.
There are instances when the tint film may not pull off as a complete sheet. Instead, the film will peel off in tiny slivers. Use the ammonia solution we talked about and a blow dryer to help loosen the film in such cases.
Wash the Window
After the window tint has been removed, it’s important to clean the window. This will help remove any adhesive residue and restore clarity to the glass.
You can use a glass cleaner and paper towels or a lint-free cloth to clean the window. For best results, we recommend using a squeegee. It’ll make short work of the cleaning process and leave your windows streak-free.
Removing Window Tint With a Steamer
Apart from the method mentioned above, you can also remove your window tints using a steamer. That way, you can sidestep the harmful effects of ammonia. However, using a steamer to remove window tints is more time-consuming and complicated than the conventional way.
Here’s how you can remove window tints from your house’s windows using a steamer. For this method, you’ll need:
- A handheld steamer
- A straight razor
- Window-cleaning products
- Spray bottle
- A non-scratch pad
- Paper towels
- Water
Make sure you get a high-quality steamer for the best results. Some of the generic steamers you find online won’t get the job done.
Steam Your Windows
You start by giving your windows a good steaming with a handheld steamer. Make sure to get the steamer’s nozzle as close to the tint as possible.
The goal is to loosen the adhesive without damaging the glass. Once you’re done steaming, wait for a few minutes before proceeding to the next step.
Lift the Edge
Use a razor to get under the edge of the window film, then gently lift it up. For the best results, get the razor under one of the edges on the top corners. If you’re having trouble getting the razor under, steam the window some more, and try again.
Peel Off the Tint
With the film partially lifted, peel off the tint. If it’s not coming off easily, steam the window some more and try again.
As you peel, be careful not to damage the glass beneath. If any pieces of tint are left behind, use a razor to remove them.
Clean the Windows
Once the tint is completely removed, give your windows a good cleaning. That way, you’ll get rid of any adhesive residue and restore clarity to the glass.
You can use a glass cleaner and paper towels or a lint-free cloth to clean the window. For best results, we recommend using a squeegee to
How to Remove Window Tint from House Windows Made Easy
And there you have it! These are the steps you need to follow to remove window tint from your home’s windows. Now that you know how to remove window tint from house windows, our work here is done. It’s up to you to roll up your sleeves and get to work.
If you need help with the process, we recommend hiring a professional. They’ll have the right tools and experience to get the job done quickly and efficiently.
Don’t forget to check out the other posts on the site for more informative content.