Your kitchen cabinets have seen better days. The paint is fading and chipping away. The hardware is greasy and unappealing.
You would like to go for a full kitchen cabinet restoration, but you don’t have the money to go that far. What if we told you that you don’t have to have a large amount of cash on hand to have a gorgeous kitchen.
All it takes is a fresh coat of paint and new hardware to breathe new life into your cabinets. That is if you go about it the right way.
You can’t simply slap a coat of paint on and call it a day. Check out this guide for a complete step-by-step process.
Label Everything
You can’t get the restoration job done without taking your cabinets apart. Do yourself a favor. Before you pick up a screwdriver, draw the layout of the cabinets and label each door and drawer.
If you don’t, you may get a little confused when it comes time to put everything back together. Many mistakes will occur that will cost you valuable time and energy.
Remove the Doors and Drawers
You don’t want to damage your doors and drawers during the painting and cleaning process, so you should remove them and take care of them separately.
Put your screws in a bag or drawer so you don’t lose them. If you plan to use the same hinges and knobs, number them as you remove them. This way, you remember what cabinet they went to.
Break Out the Elbow Grease
Now that you have everything separated, it’s time to break out the elbow grease and give your cabinets a good scrub down. There’s a specific way that you have to go about it.
Cleaning the Cabinets
First things first, lay down drop cloths to protect your furniture, countertops, and floors. Pick up a cleaner that’s specially designed for cabinets.
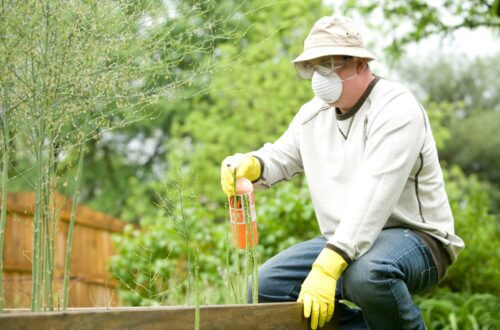
This stuff can be a little toxic to you, so you’re going to want to wear gloves and a pair of safety glasses. Use the directions on the bottle to wipe down the cabinets.
Rinse them off once you’re finished scrubbing. If the water is dirty, start the process over again. Let the wood dry before you do any sanding or painting.
Scrub the Hardware
If you’re going to put the same hardware back, you should at least clean it to get any kitchen grease off of it. Remove the hinges and knobs and place them in a bowl of soapy water.
Let them soak for 30 seconds before scrubbing them with a soft brush. Rinse the hardware and let it dry. Use polish to make those old knobs and hinges shine.
Fill In Any Gaps
Depending on how old your cabinets are, there’s a chance that they might have a few holes in them. If you want a smooth finish when you get to the prime and painting stage of the process, you’re going to want to fix them.
Pick up a container of wood putty and use it to fill the holes. You want to be careful with this step. Do your best to not get too much excess putty on the cabinet itself.
If you’re covering up small nail holes, you can use your fingers. You’ll have to use a putty knife to handle larger ones. If you do get any putty on the actual cabinet, you’ll have to grab your sander.
Sand Your Cabinets
Wood putty isn’t the only thing that you’ll have to sand before you add the bonding primer to the solid wood. You’ll have to go over the entire thing to get rid of the glossy top layer.
This will allow your paint and primer to soak into the wood and last for years to come. Once you’ve sanded the entire cabinet, wipe the debris away with a towel and go back over it once again.
Priming
High-quality paint can only do so much for covering up unfortunate blemishes. You need to use a primer first. Not only will it cover up any imperfections, but it will also allow the paint to seep deeper into the wood.
When you’re choosing your primer, it’s important to note that your kitchen is a humid place. This means that you need to go with a mildew-resistant formula.
Paint the First Coat
Once your primer is dry, you can apply the first coat of paint. It’s most likely going to take a couple of coats to get the job done. If you want it to look like a professional did it, you can’t rush it.
Take the time to make sure the entire surface is smooth and covered.
More Sanding
When a coat of paint dries, take your sander to the cabinet. This will remove any imperfections. If you do this correctly, it will look like you spent thousands of dollars replacing your pieces.
Put Everything Back Where It Came From
Once your last coat of paint dries, it’s time to grab that map we told you to draw at the beginning. Use it to put everything back where it came from.
We recommend that you buy new hardware because it can really bring a special touch to your cabinets (you can go here to learn about the different types). If you can’t afford it, though go ahead and screw your knobs and hinges back in.
Complete Kitchen Cabinet Restoration on a Budget
Are you tired of looking at chipped and fading paint? It’s time to give your kitchen cabinets the facelift they deserve. Many homeowners panic at the idea of housework due to the expense.
You can do a complete kitchen cabinet restoration without harming your wallet. A good sanding and paint job can go a long way if you do it right.
If you’re looking for more ways to update your home on a budget, we can help. Check out our blog daily to learn how to manage your cash.


