Have you ever discovered that you have a damaged rug? Perhaps you have since you are currently reading this blog. It can be dismaying to find your carpet or rug damaged. Are you trying to figure out how it happened? Is it repairable? If those things have crossed your mind, you are in the right place.
Yes, you may be able to repair it yourself if the damage isn’t extensive, which is usually a cheaper option than replacing it. On the contrary, you may leave it to professionals to clean it properly. In that case, you can click on this website here to check your options.
Below are four common damages that can be found on your rugs and how you can fix them.
1. Fixing Fraying Sides
It is important to note that there are many different types of carpets and rugs out there. And not all of them are not created equal. Sometimes rugs fray along their edges as a result of wear and tear or because of poor craftsmanship. It may also be because the rug is placed on an uneven surface or shoes drag across it constantly.
If your rug has frayed edges on all four sides, turn the rug over so that the side facing down is up on your work surface. Make sure you have enough material to repair and cut off any loose threads before starting to work on your project.
- Step 1: Remove the damaged portion of your rug by cutting off the frayed or torn edge with scissors or a craft knife.
- Step 2: Cut off a piece of fabric from another scrap piece of fabric large enough to cover your cut-off edge. You will need enough width for a seam allowance and at least ¼ inch extra length for wrapping around the corner (if necessary).
- Step 3: Sew the two pieces together with a running stitch, making sure not to sew through both layers of fabric at once. The stitches should go through only one layer of fabric at a time, leaving small holes in between stitches.
Following these steps should adequately repair the fraying sides. Please note that unless you are well-versed in stitching, the chances of your rug looking like the original are slim.
2. Loose Backing
One of the most common problems with rugs is that the backing has come loose and has pulled away from it. It is most often caused by a dry environment or by over-vacuuming.
The first thing to do is to vacuum the rug with as little suction as possible, and if possible, use a handheld vacuum rather than an upright model.
Next, determine whether or not you can fix the problem yourself. If your rug is an antique or very valuable, it might be best to take it to a professional rug repair person. If it’s not too expensive, here are some steps you can take:
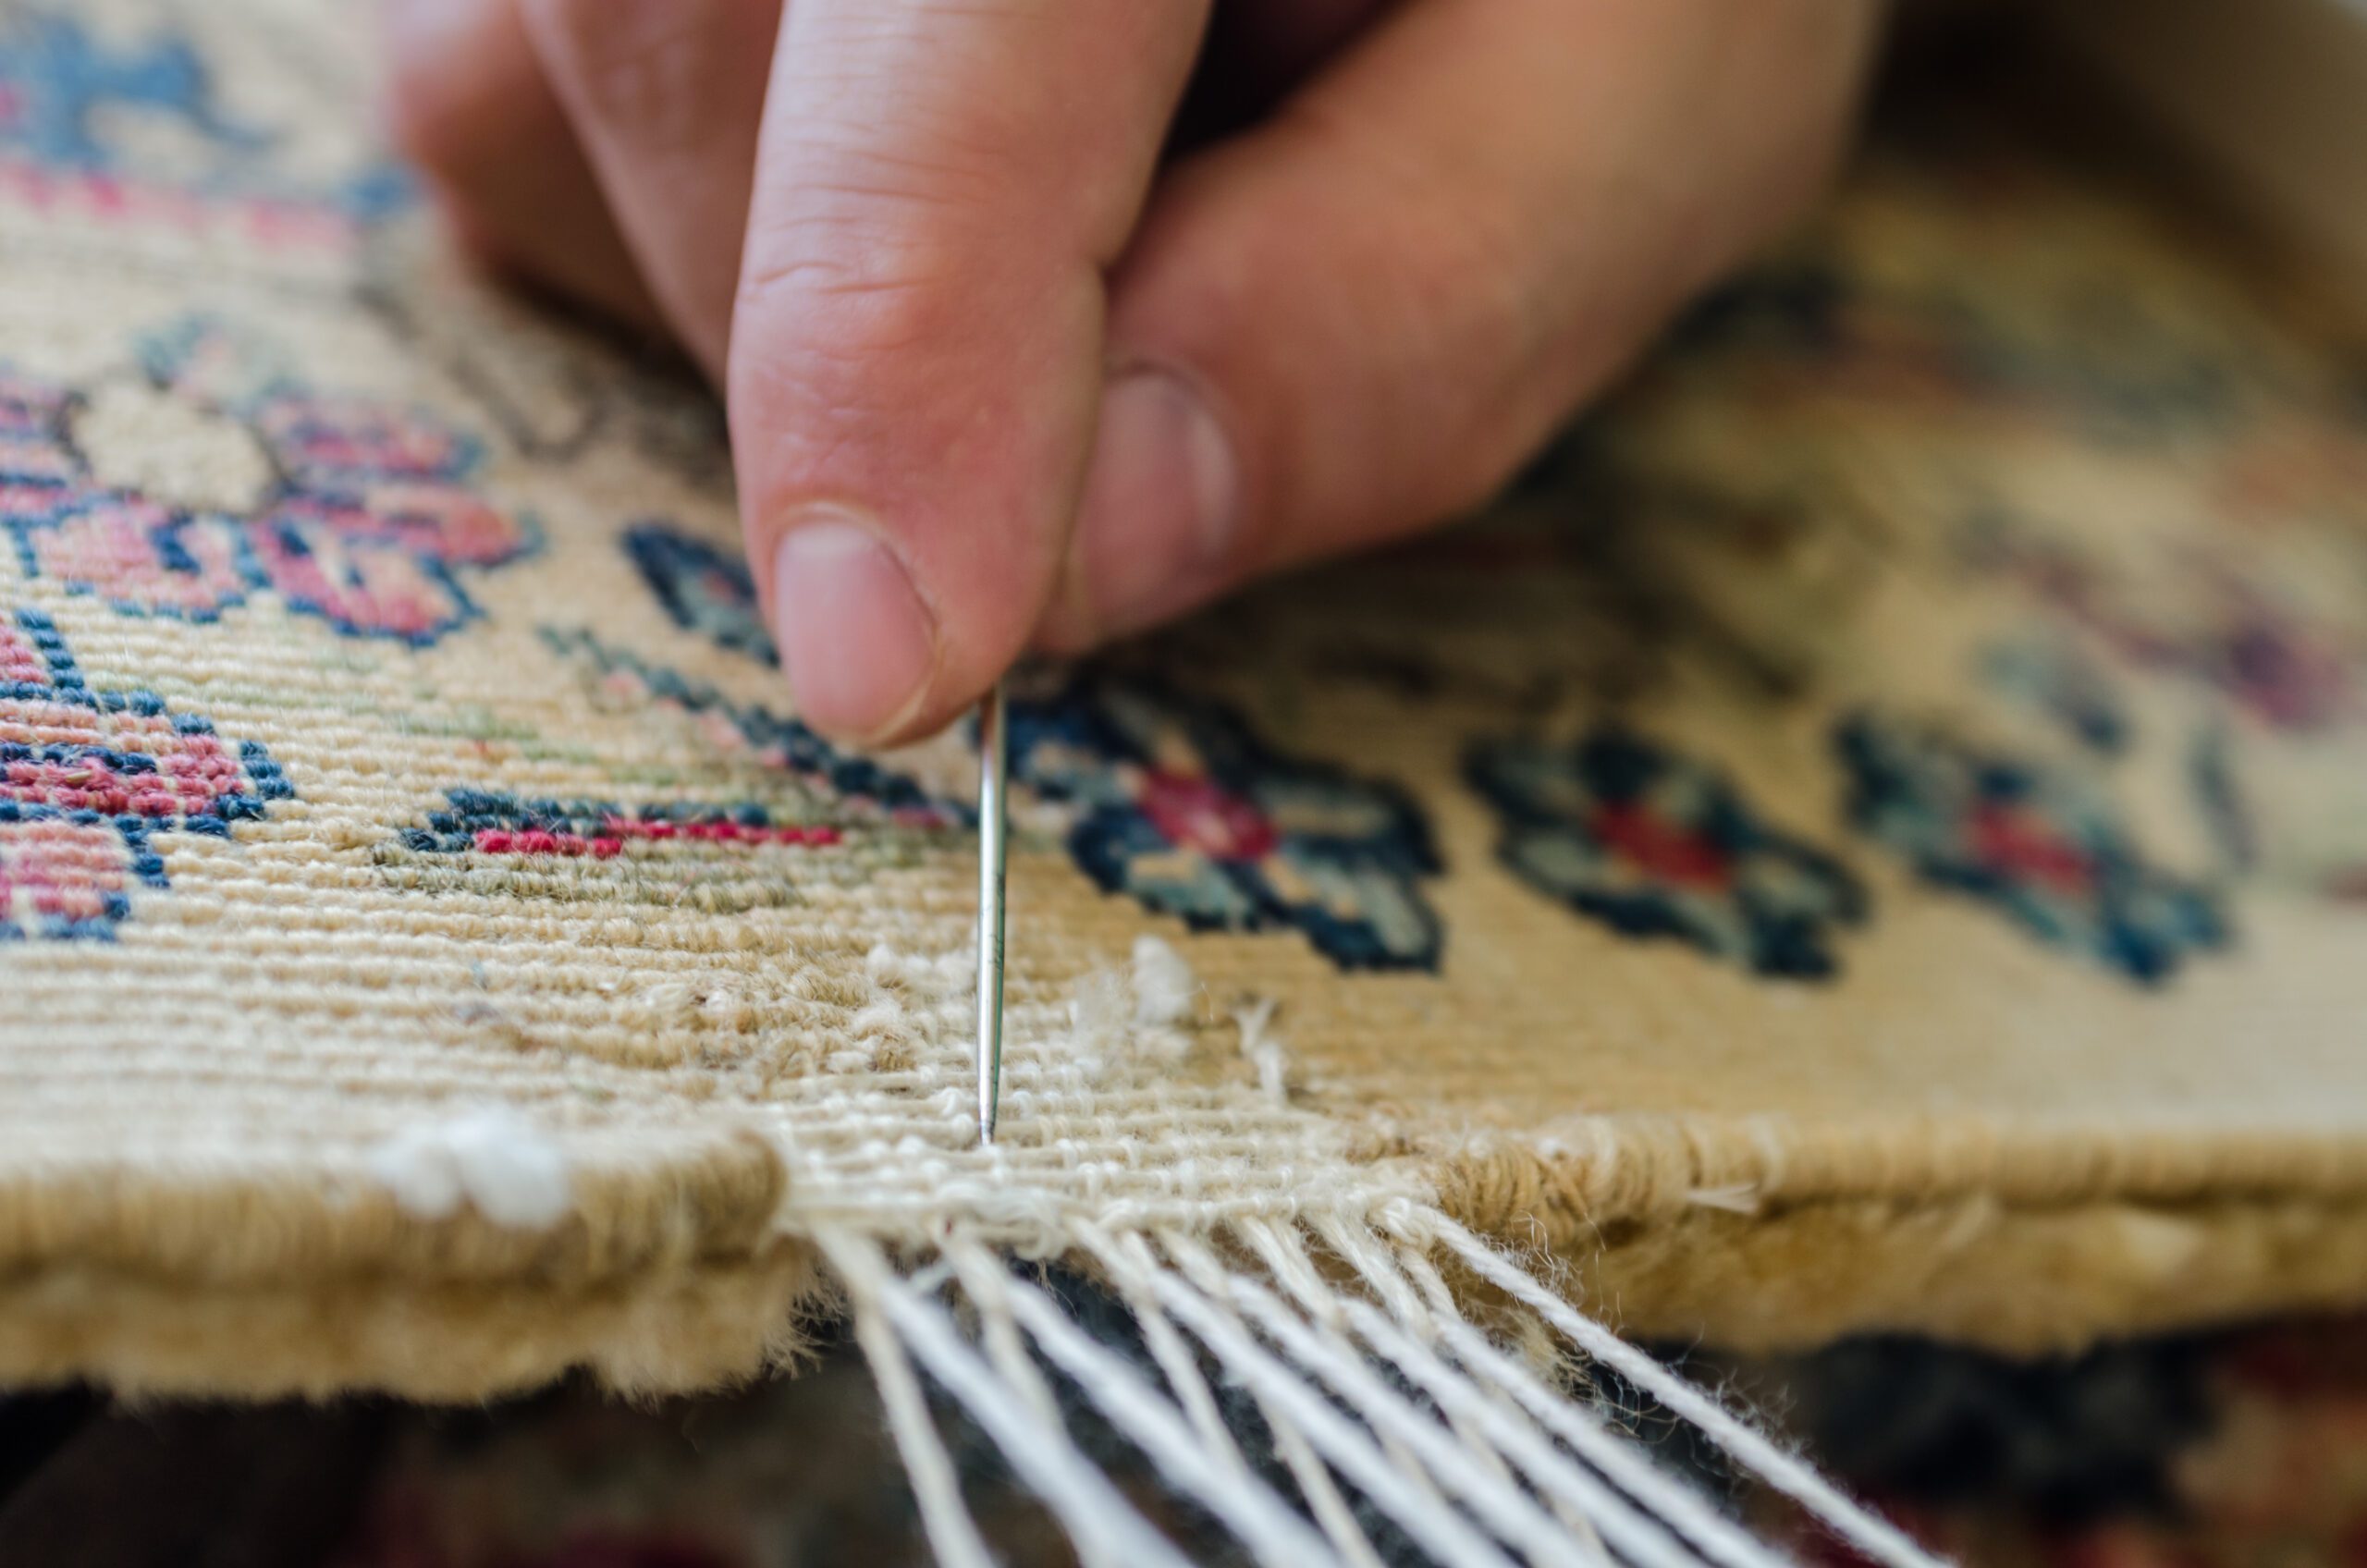
- Determine if any threads are still holding onto the rug backing. If they are, try pulling them out gently and reattaching them by hand using a needle and thread. You may have to use a needle threader if there aren’t enough holes in your needle for this purpose.
- If there isn’t any thread left attached to the backing, you will need some special glue designed for this purpose. You have two varieties of this option – one that melts at high temperature (such as “hot melt” glue) and one that melts at low temperature (such as “cold melt”)
Make sure the glue is applied appropriately and given time to adhere. Some glues will require you to place pressure on the rug to ensure it works well.
3. Back Tears
If your rug has back tears, you can easily repair them at home. Here’s how:
- If the tear is small, use a pair of scissors to cut away any frayed edges.
- If the tear is large, use a back tack (stitch) to secure the edges of the rug together. This method can prevent fraying and keep the rug from unraveling further. Use a needle and thread to stitch across the tear from one side to another. Ensure that the thread goes through both sides of the weave and comes out on the other side.
- To ensure your rug is secured, place two staples on either side of each stitch. It will keep it from sliding apart when someone sits or walks on it.
As you can see, you can easily repair this damage if followed correctly.
4. Stains
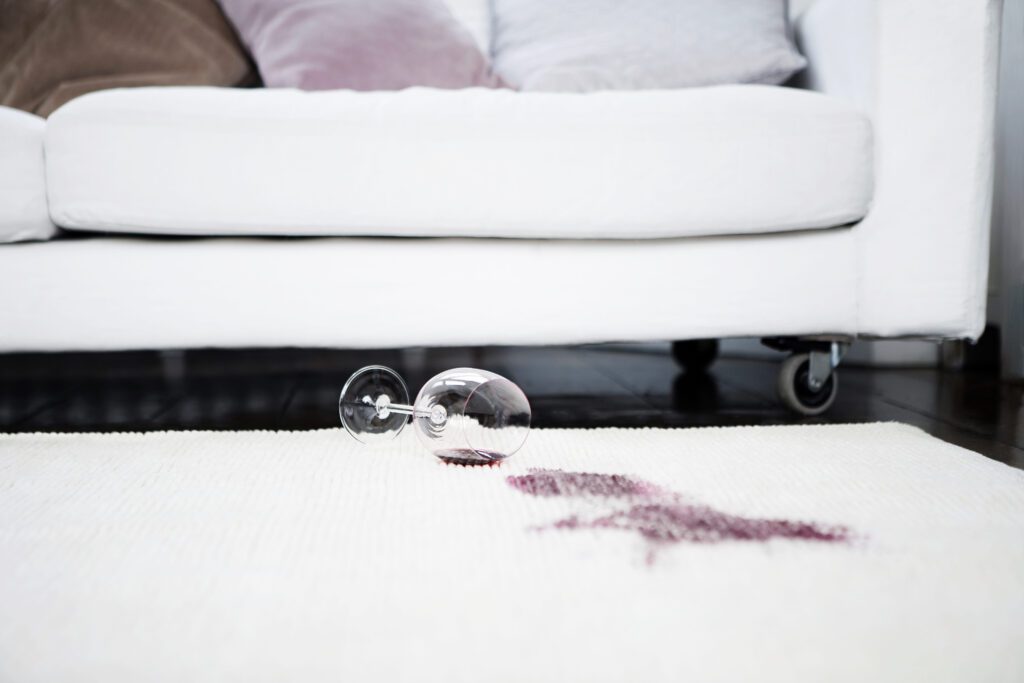
It’s common for accidents to happen. Someone may spill something on your rug that would leave a stain. Now, depending on what left the stain, the approach to rectifying it differs;
- Wine: removing wine stains is pretty easy. Use a mixture of dishwashing soap, water, and vinegar and spray it on the stain. Then gently dab the spot with a clean cloth (microfiber). Repeat this process until the stain fades away. This method applies to most juices as well.
- Mud: if wet mud has been tracked onto your rug, it is best to wait for it to completely dry first. Once dry, you must gently remove as much of the mud as possible. Then use a vacuum to remove what is left. It is possible to use a detergent solution to blot out any stains left behind. It is vital to ensure that the detergent does not have any bleach or discoloration agents in it so as not to damage the rug further.
It is good to have your rug regularly cleaned as this will help when you encounter stain situations.
Conclusion
Well, there you have it, four techniques that will have your damaged rug look brand new in no time.